Staining a wooden fence
➡️ Learn how to refurbish a wooden fence with stain here. Does your metal fence need a makeover? Then check out our step-by-step guide on how to paint a metal fence.
Step 1: Preparation
- Remove dirt and possible green deposits
- Lightly sand the wood
- Make the wood dust-free
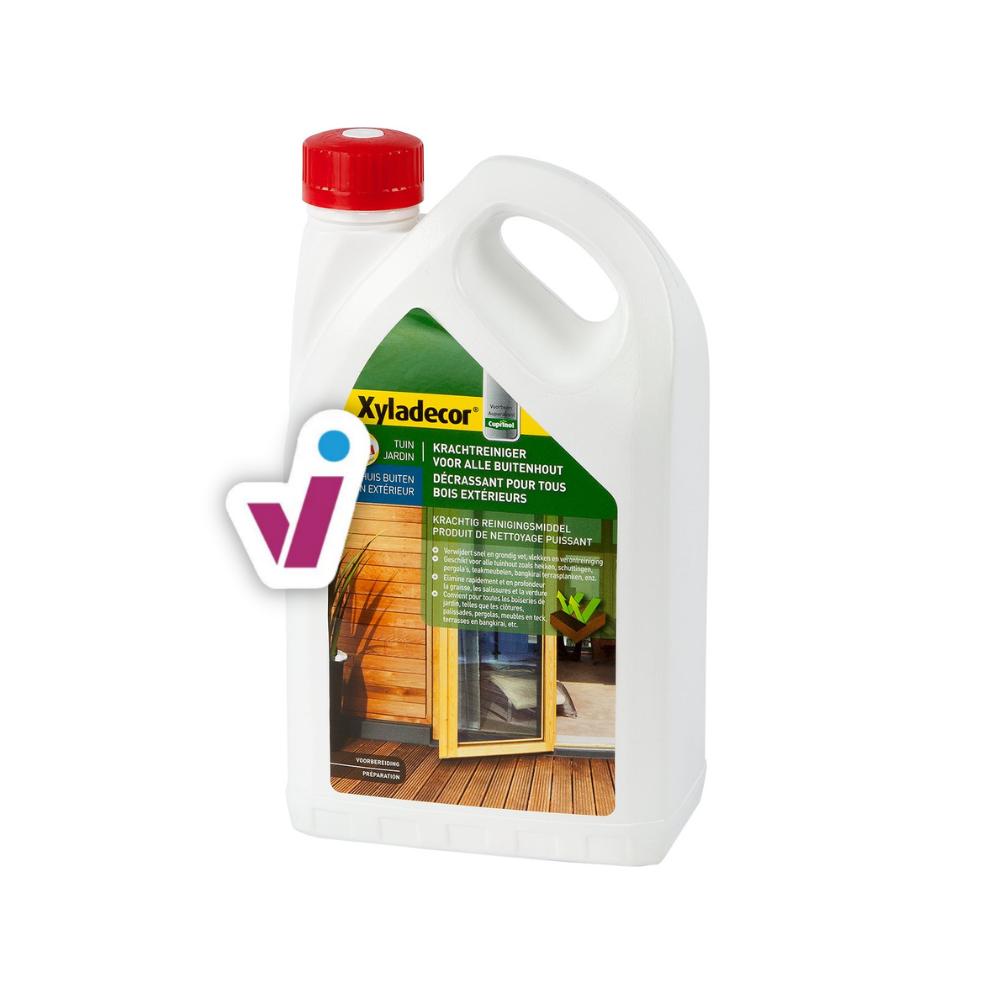
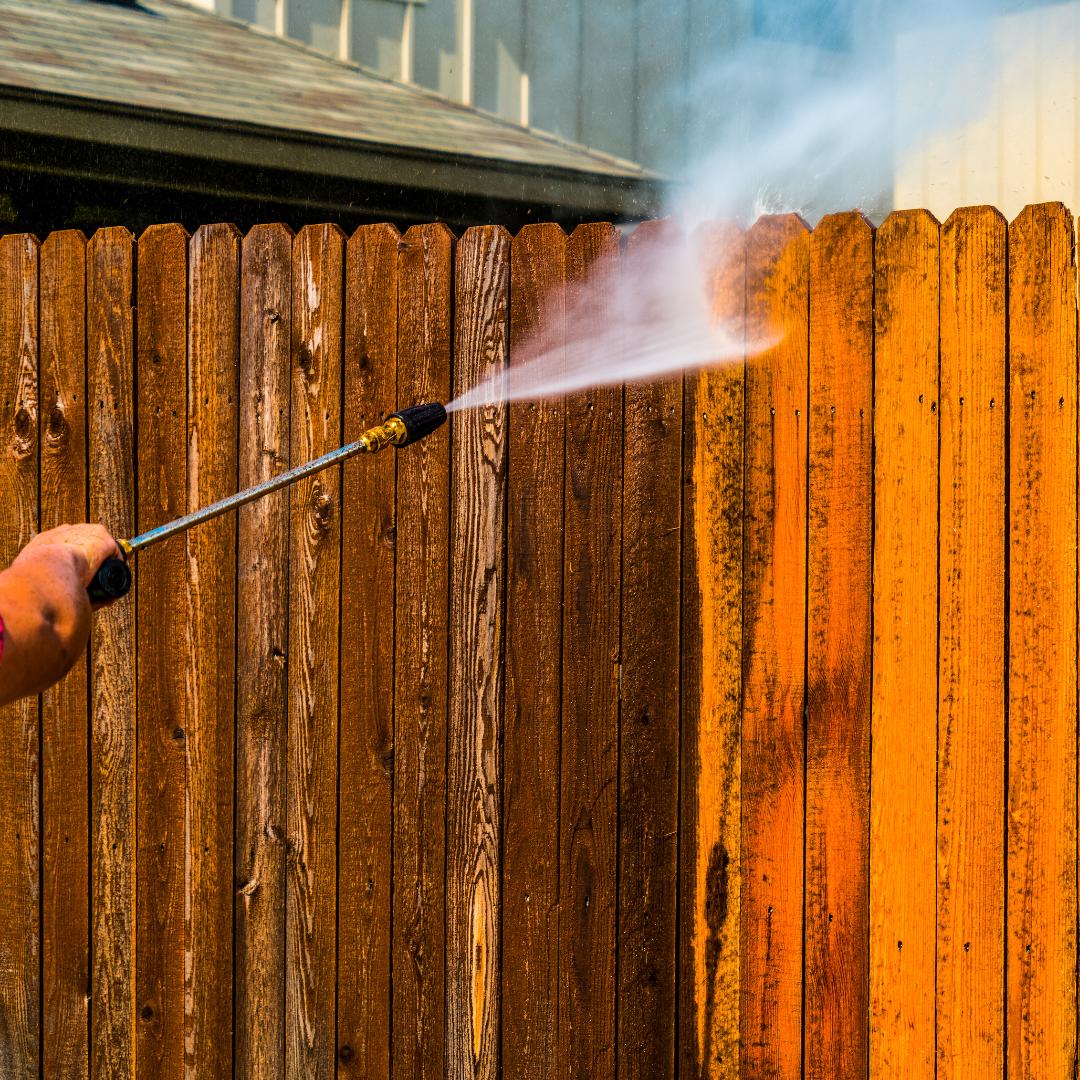
Start by cleaning the wooden garden fence to remove dirt, dust and any green deposits. Use warm water with a mild cleaner or a special cleaner for outdoor wood. For green deposits, you can use a specialised product like Algimouss AlgiAlgues.
Then lightly sand the surface. This not only ensures that you get rid of any unevenness but also helps the stain adhere to the surface better. Don't forget to de-dust the wood after sanding.
Step 2: Painting your wooden fence
- Use a flat brush or roller
- Roll out the stain over the lengths
- Apply two to three coats
- Mind the drying times
- Enjoy your gorgeous fence 🌞
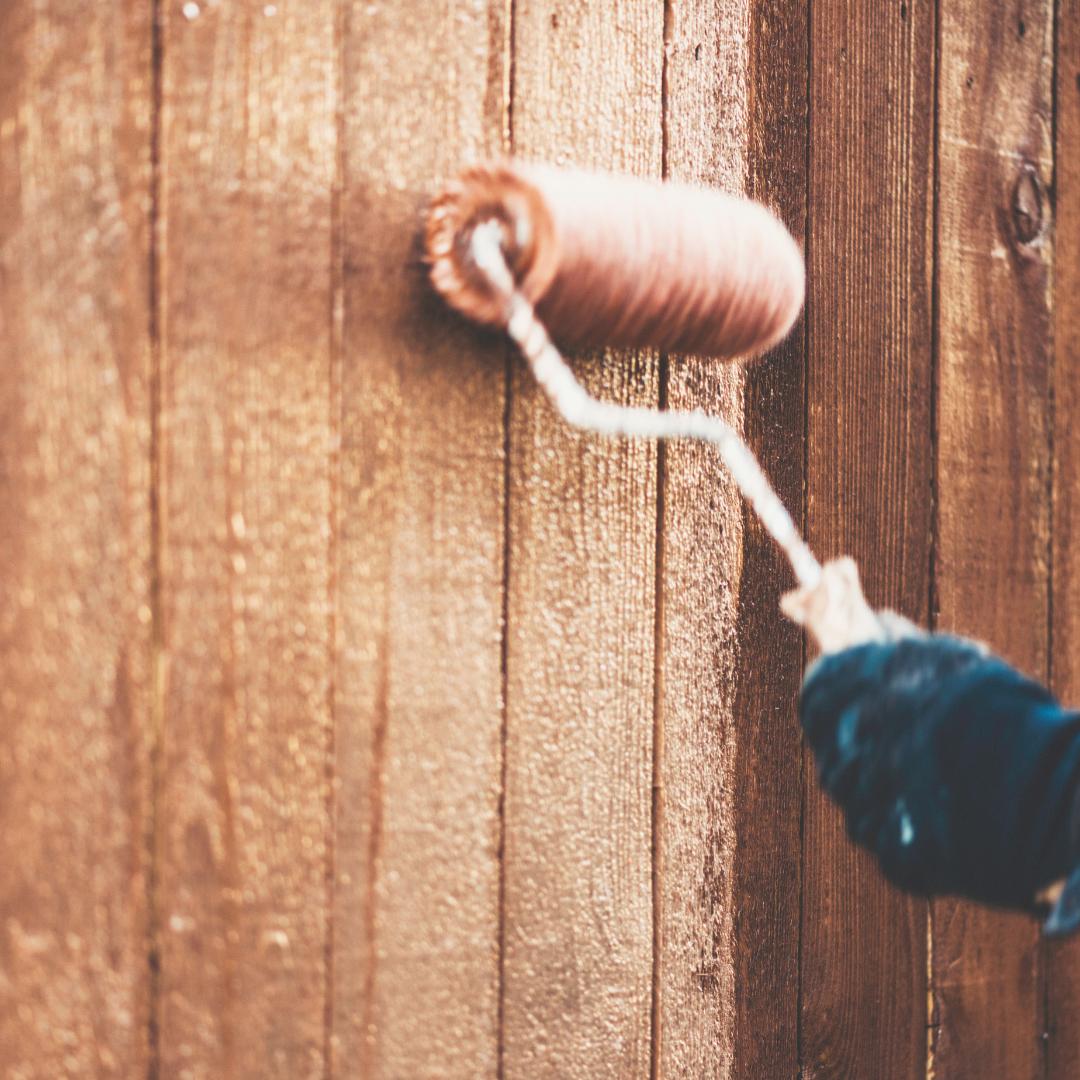
Apply the stain to your wooden garden fence with a flat brush or a roller. If you're handy with a paint sprayer, you can also spray it. The best direction to work in is along the length of the boards.
Usually, you'll need to apply two to three coats of stain to ensure that the wood is protected well enough. Consider the amount of coverage or darkness you want as well as the specific recommendations for the product you are using. Any doubts? Then, feel free to ask our experts for advice.
Finally, make sure that each coat is completely dry before you apply the next one. Also, try to time your work so that you avoid having the hot sun on your fence immediately after application, for example.
How often should you stain a fence?
Which stain colour do I choose for my fence?
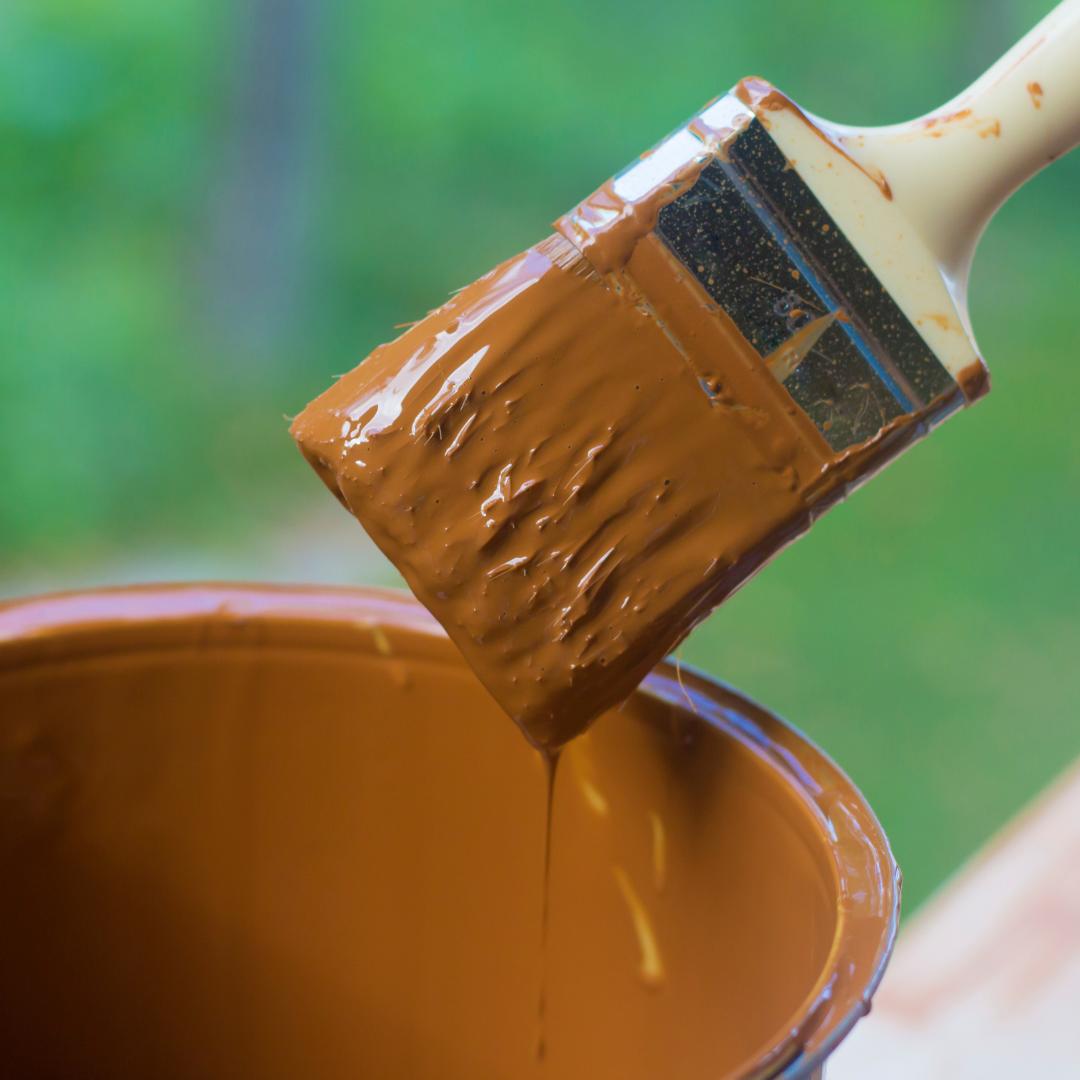
There are countless possibilities! Many transparent stains are standard available in a range of common wood colours. Choose the colour that matches the wood of your garden fence for a natural look, or go for a slightly darker shade if you want more depth and contrast.
Colourless transparent stains also exist, but it's best to opt for a tinted one. That's because the strength of the stain mainly comes from the pigments added to it.
In addition, you can also use an opaque stain if you're aiming for a non-wood colour. Green and black are popular colours for a fence, but you can have the stain mixed in just about any colour you like.
Which is better, painting or staining?
In this roadmap, do we talk about 'painting a wooden fence' or 'painting a garden fence'? Then we actually mean staining.Stain is a special type of paint specially designed to be applied to (exterior) wood. It is made to allow the wood to breathe. At the same time, it still ensures that the wood is protected from moisture, dirt and other outdoor conditions.
Why you'd better not use ordinary paint for your fence? Paint completely seals the wood surface and that's not a good idea. Wood is a natural material, which does have a bit of life in it. It can shrink or expand, for example. The paint layer will soon start to crack and/or peel off.
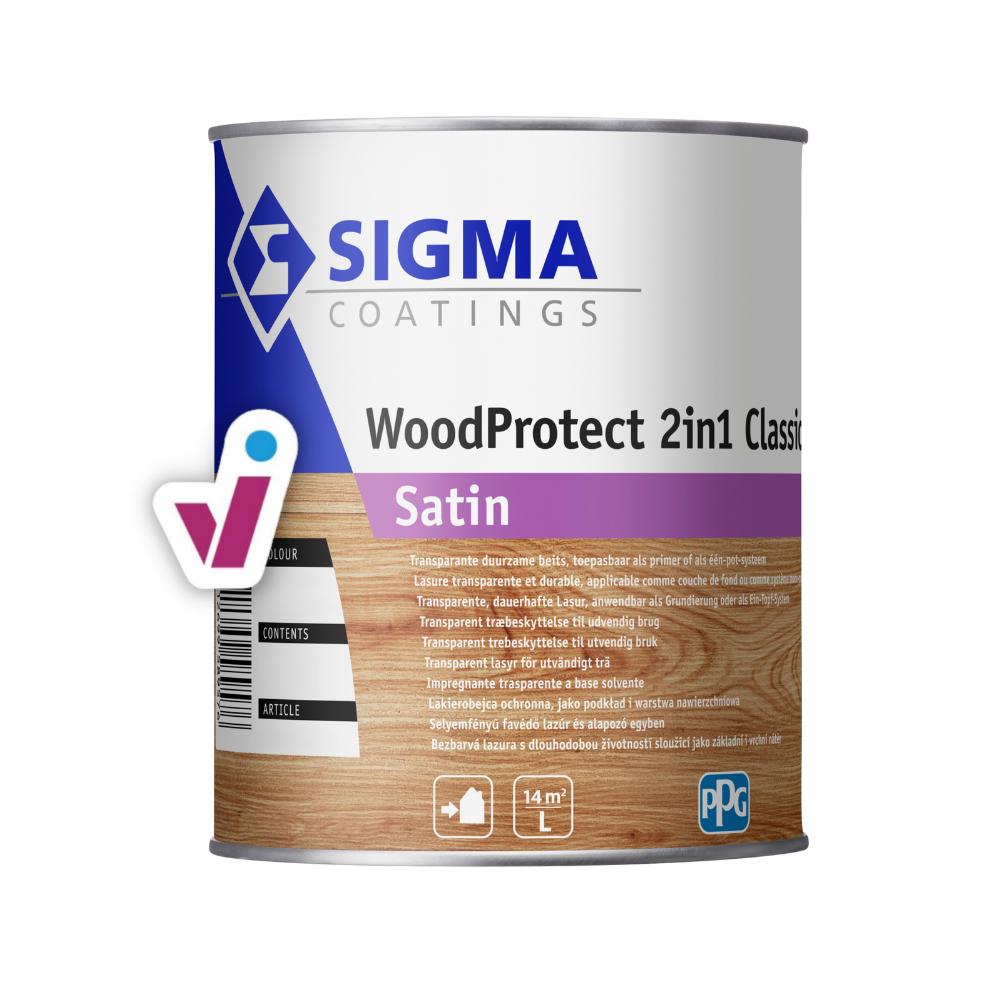
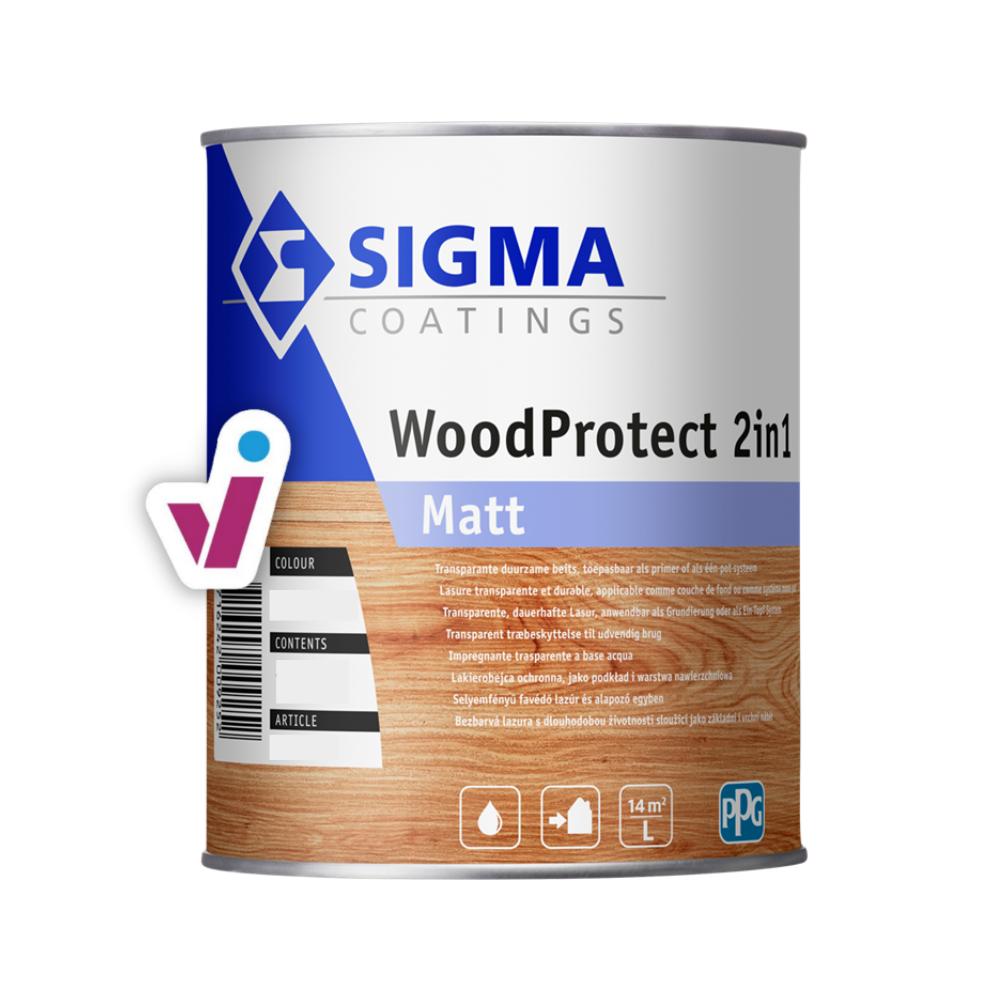
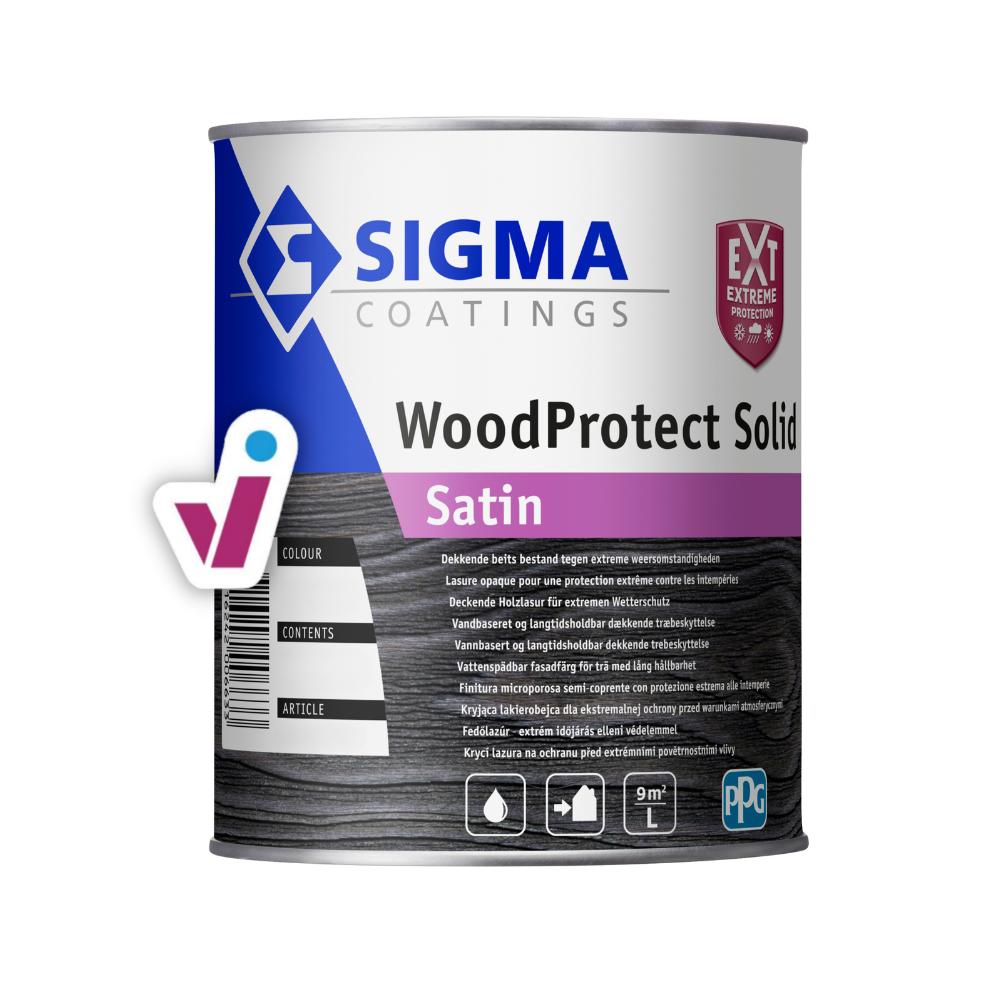
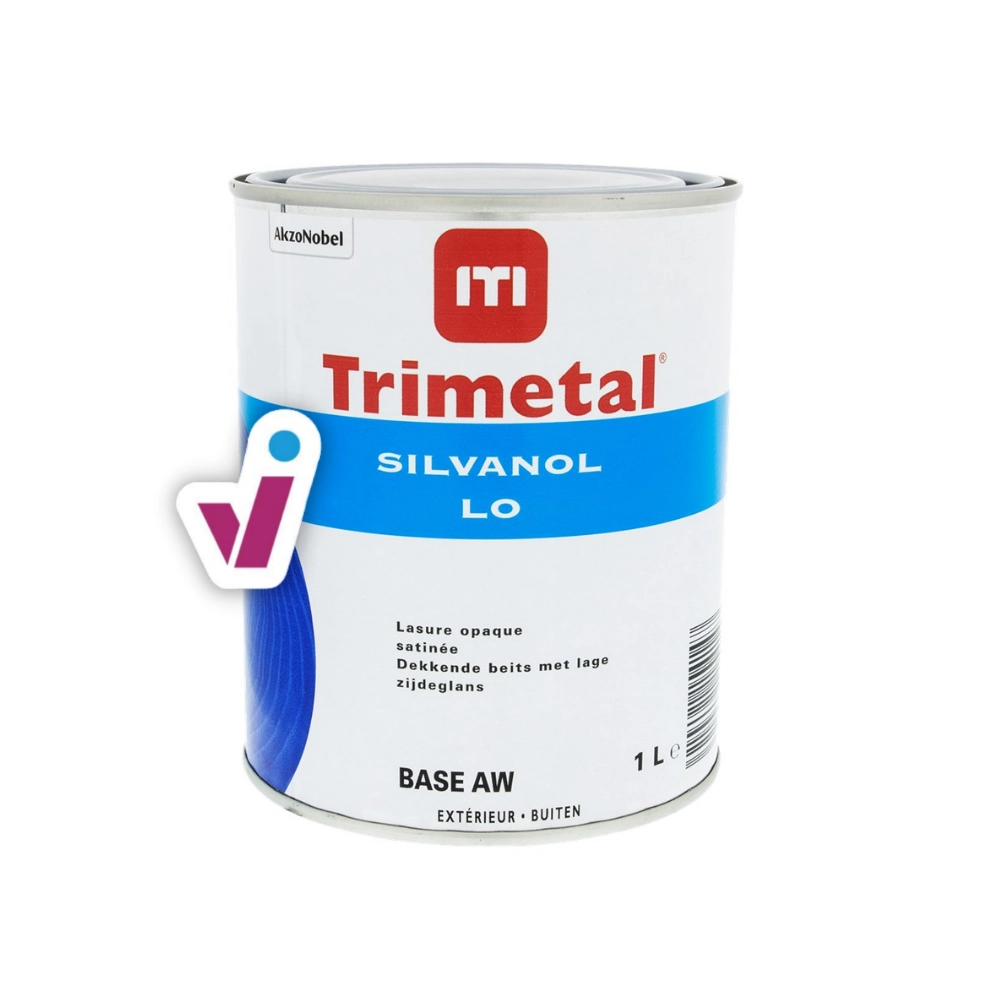
Stain for garden fence
In our step-by-step plan, we mentioned a number of top products you can use to create a beautiful fence. Below, we're listing them for you.
Ready to start painting?
In this video by Xyladecor, you can see clearly how painting a wooden fence works in each step of the process.


